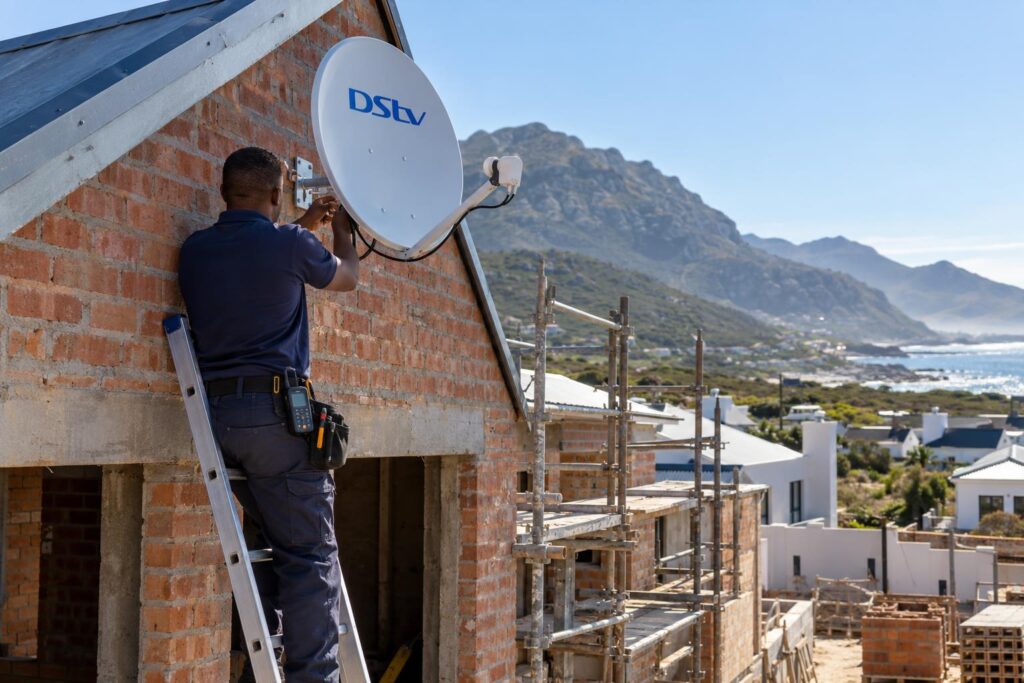
Quick answer: Our DStv cabling new build Hermanus checklist is simple. Plan the cable runs before the walls are plastered and the ceilings close. Mark the dish spot first, then run one RG6 cable per TV point plus a spare, each in its own conduit with a draw wire. Add a network point behind the main TV at the same time. Doing it at first fix costs a fraction of chasing walls later.
The cheapest DStv cable in any house is the one that goes in before the plaster. After that, every metre costs more. This guide covers DStv cabling for a new build in Hermanus, step by step, so the walls only get closed once.
We see the same story every month. A beautiful new home in Vermont or Sandbaai, freshly painted, and one lonely TV point in the lounge. The owner wants TVs in the main bedroom and on the patio too. Now it means white trunking up the walls or a day in a hot roof. A short plan at drawing stage avoids all of it.
Key points for DStv cabling in a new build
- Choose the dish spot before the roof goes on.
- Run one RG6 cable from the dish to every TV point, plus a spare to the lounge.
- Give satellite and network cable their own conduit, away from power.
- Leave a draw wire in every conduit and label both ends of every cable.
- Plan for the Hermanus wind and salt air from day one.
What you need before DStv cabling for a new build in Hermanus
You do not need much to start. You need a floor plan, a rough idea of where the TVs will go, and a builder who will listen. Most of the work happens on paper.
The equipment the cables must suit
MultiChoice recommends the same setup for every Explora model: an 80cm dish with a DStv Smart LNB. You can read the official DStv recommended installation for the Explora Ultra on the DStv site. Your cabling plan should be built around that setup.
The Smart LNB matters for cabling. The current model, the LMX501, has three UniCable outputs and one Universal output. One UniCable cable can feed more than one tuner, so you do not need a switch box in a cupboard. Our Smart LNB guide for Hermanus explains which decoders need one.
What to have ready
- A floor plan with every likely TV wall marked.
- A list of rooms that might get a TV later, such as a study, garden flat or patio.
- Your solar plans, if any, so panels do not block the dish.
- The builder's timeline, so we know when first fix happens.
DStv cabling new build Hermanus: the 7 steps
Here is the order we follow on new houses from Onrus to Voelklip. Hand it to your builder and electrician at the start.
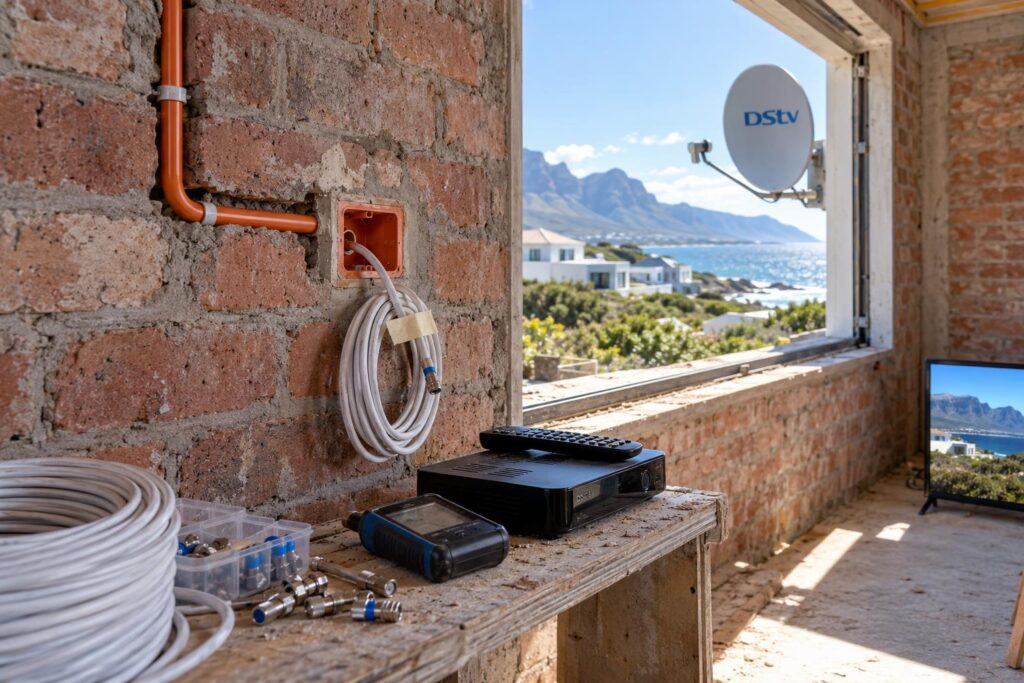
- Fix the dish spot on the plans. DStv dishes in South Africa point roughly north-east. The spot needs a clear view that way, with no roof ridge, tree or future double storey next door in the path.
- Mark every TV point. Put the plate at wall mount height if the TV will hang on the wall. A plate at skirting height behind a wall mounted TV means a visible cable.
- Plan the conduit routes. Use long, gentle bends. Sharp corners make pulling cable hard and can kink it.
- Lay conduit at first fix. Satellite and network cables get their own conduit. Never share a pipe with a plug or light circuit.
- Leave a draw wire in every conduit. Someone will need to add a cable one day.
- Pull RG6 coax and label it. Use proper RG6, not thin cable from a bin. Mark both ends, like "Lounge 1", "Lounge spare" and "Main bed".
- Seal the roof entry. Use a proper weatherproof entry, not a hole with a blob of silicone.
That is the building part done. The final visit, after painting, is a normal DStv installation in Hermanus. The difference is that every cable is already where it should be.
Local tip: Leave a generous tail of cable at the dish spot and behind each plate. A cable that is 30cm too short is a new cable.
How many DStv cables does each room need?
With a Smart LNB, each TV point gets its own cable back to the dish. Then add a spare where it counts. This is the plan we use most often for a family home.
| Room | Satellite cable | Network cable | Why |
|---|---|---|---|
| Main lounge | 2 runs | 1 point | One live, one spare. The spare saves a callout later. |
| Main bedroom | 1 run | 1 point | Plate at wall mount height. |
| Second bedroom or study | 1 run | Optional | Cheap now, a mission later. |
| Patio or braai room | 1 run | 1 point | Outdoor rated fittings. Salt air finds every gap. |
| Garden flat | 1 run in conduit | 1 point | Laid underground with the plumbing trenches. |
Not sure you will ever put a TV in the study? Run the cable anyway. Leave it coiled behind a blank plate until you need it.
Planning for more than one decoder
XtraView lets you link two or three decoders on one subscription. You pay an Access Fee for the extra decoders. If a second or third room is likely, the cables should already be there. Then adding a decoder is a plug in job. Here is how DStv Extra View setup works once the house is finished.
DStv also notes that each Explora linked in XtraView needs its own internet connection. That brings us to network cable.
Building or renovating in Hermanus?
Send your floor plan on WhatsApp. We will mark the dish spot and every cable run before first fix, so your walls only get closed once.
Network cable and WiFi points while the walls are open
The Explora Ultra has built in WiFi and can also use a network cable. Older Explora models connect with a network cable or the USB DStv WiFi Connector. A wired point behind the main TV is always more reliable than WiFi through thick walls.
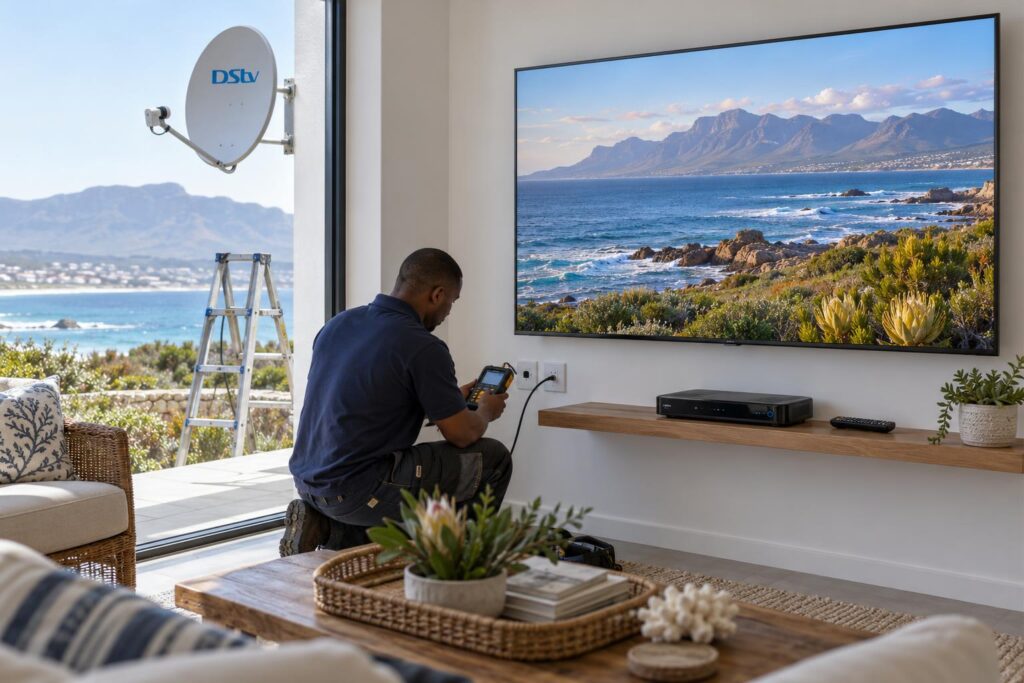
While the walls are open, plan the whole network. It costs little extra at this stage.
- A network point behind each main TV.
- Ceiling points for WiFi access points, one per floor or wing.
- A cable to the gate camera and any outside cameras.
- A point in the garden flat or office.
- A neat spot for the fibre router, with power, near the centre of the house.
We design this as part of our WiFi and network cabling work. The TV and internet cables then share one tidy plan instead of two.
Troubleshooting each step of your DStv cabling new build Hermanus plan
Even good plans hit snags on site. Here is what goes wrong at each step, and what we do about it.
Step 1 trouble: the dish spot is blocked
Sometimes the best spot ends up behind a new solar array or a neighbour's second storey. We check the line of sight with a meter before anything is fixed. If the view is blocked, we move the spot and adjust the cable route while it is still easy.
Steps 3 to 5 trouble: cable will not pull
This is nearly always a sharp bend or a conduit full of builder's rubble. A draw wire tells you straight away if the pipe is clear. Fix it before the plaster, because after that it means chasing the wall.
Step 6 trouble: weak signal on one point
Usually it is a crushed cable, a badly fitted connector or a run that shares a pipe with power. We test every run before the ceilings close. Later you can also check your DStv signal strength on the decoder yourself.
Step 7 trouble: water in the roof entry
A leak at the cable entry shows up after the first big winter storm. We use a proper entry and drip loop so water runs off the cable, not into the roof.
Hermanus conditions that change the cable plan
A cable plan that works in an inland suburb is not enough here. The coast changes what we fit and where we put it.
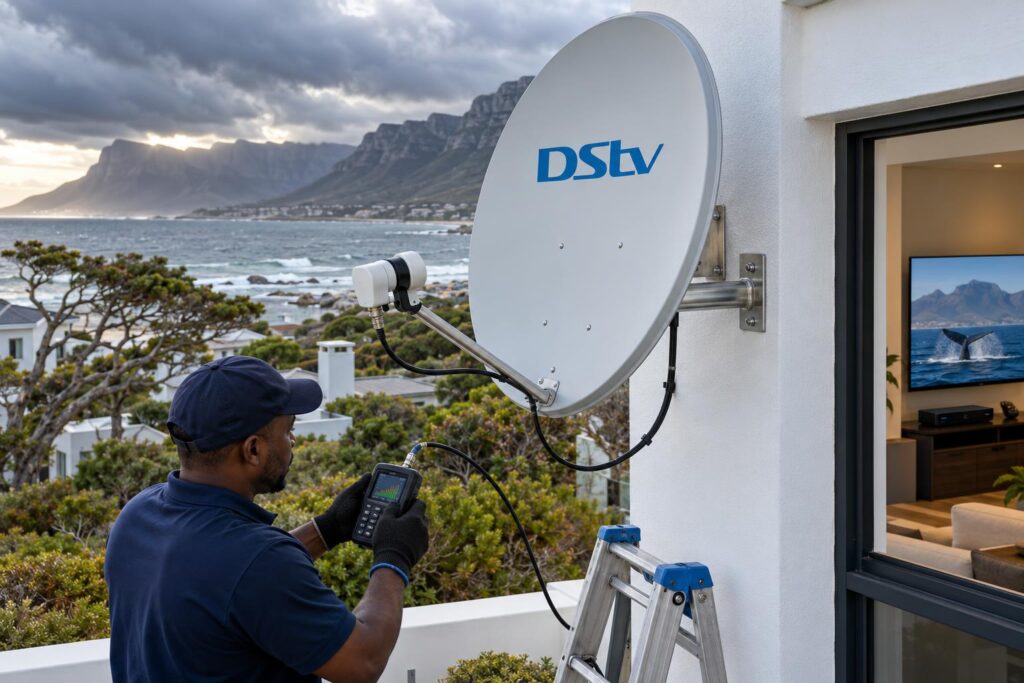
Wind off Walker Bay
We prefer a solid wall or gable end, out of the worst of the south-easter, over a pole on an exposed roof edge. This matters most in Eastcliff, Westcliff and Voelklip, close to the cliffs. Read more about Walker Bay wind and your dish before the roofer decides where it goes.
Salt air on every fitting
Cheap outdoor connectors turn green within a winter or two. We use sealed, weatherproof fittings and stainless or treated brackets. Our guide on salt air and coastal installs explains why.
Complexes, estates and farms
- Complexes: DStv says the Smart LNB is not suitable for complexes and apartments on a shared dish. Check the body corporate rules and the communal system before you plan runs.
- Estates near Fernkloof: Many have rules on where a dish may go. Get approval for the spot at plan stage.
- Farms and smallholdings: Near Stanford or Hawston, the dish may sit far from the house. Lay conduit in the trenches early.
Lightning and load shedding
Storms and power cuts can surge a decoder through the power line and the dish cable. Plan a plug point with surge protection behind each TV. Here is our advice on protecting your decoder from surges.
When to bring us in during the build
We do not need to be on site every week. Three visits usually cover it, from Fisherhaven to Kleinmond.
- Plan stage. We look at the drawings and agree the dish spot and TV points.
- First fix, before the ceilings close. We check the conduits and pull or approve every cable.
- After painting. We mount the dish, fit the Smart LNB, terminate the plates, align with a meter and set up the decoders.
That last visit is our new DStv installation service, just much quicker and tidier.
Holiday home owners in Hermanus often build from Johannesburg or overseas. That is fine. Send us the plans and the builder's number, and our Hermanus DStv installers will handle the site visits.
Get your cable plan right the first time
Tell us where you are building and when first fix starts. We will plan the dish, cables and network points with your builder.
Every mistake in this guide is easy to avoid on paper. Each one is hard to fix in a finished house.
DStv cabling new build Hermanus FAQs
How many cables should I run for DStv cabling in a new build?
Run one RG6 cable from the dish to every TV point. Add one spare to the main lounge. With a Smart LNB, each point has its own cable straight from the dish.
What cable is used for DStv?
We use RG6 coaxial cable for DStv. It handles the satellite signal well over normal house distances. Avoid thin, cheap coax, because it loses signal and does not last on the coast.
Can my electrician do the DStv cabling in a new build?
Yes, many electricians do. Ask them to use RG6, keep it out of the power conduits and label both ends. We will test every run before the walls close.
Can you extend DStv cables later?
Yes, with a proper joiner, but every joint is a weak point. On the coast, joints are where salt and water get in. A full new run from the dish is always better.
Do I need network cable if the decoder has WiFi?
We recommend it. A wired point behind the main TV is more reliable than WiFi through thick walls. It also helps your smart TV and streaming devices.
When should I call a DStv installer for a new build in Hermanus?
Call at plan stage, before first fix. Then the dish spot and every cable run are agreed before anything is built in. It is the cheapest time to get it right.